
Photographic Tour Of The Battery Commander’s Station At Cabrillo National Monument
This is a collection of photos that show the Base End Station and Battery Commander’s bunker that is located north of the Old Point Loma Lighthouse. These photos show the bunker as it appeared in late 2013.
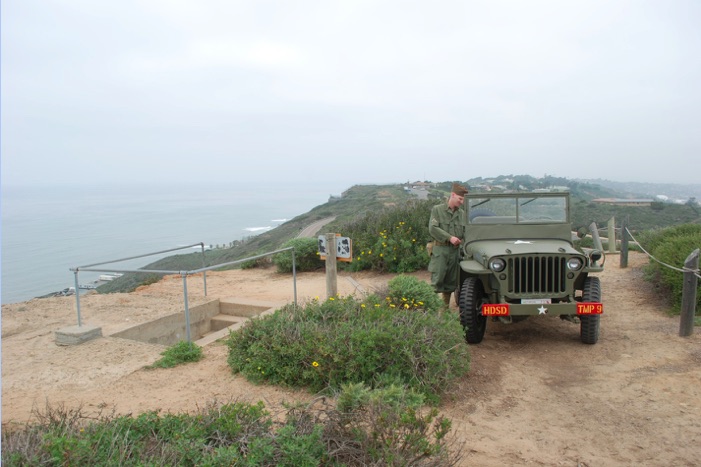
This is the entry to the bunker, looking north with Battery Ashburn visible in the background at the top of the hill. This facility served two purposes; first it was the office of the commanding officer of Battery Ashburn; second it was the observation station that generated some of the targeting data needed to aim the guns.
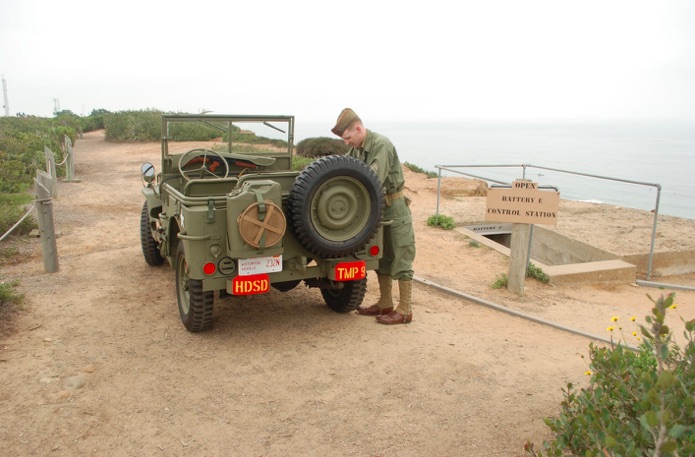
Here is entry to the bunker looking south, with the whale watching station visible in the background, just above the jeep’s windshield. The staircase installed in this bunker is a feature unique to this building, the rest of the bunkers in the park are accessed through a ceiling hatch and ladder. The jeep is owned by Dan Sutton, and is marked as belonging to the Harbor Defenses of San Diego.
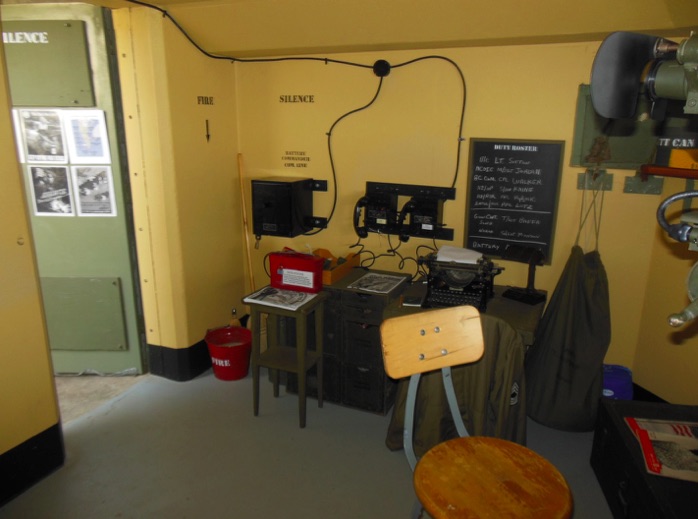
This is inside the bunker, looking southeast at the door at the base of the stairs seen in the last photo. The lock-box is securing the phone used by the battery commander to issue the order to fire the guns of Battery Ashburn. The other phones are used to communicate with the lower bunker and elsewhere.
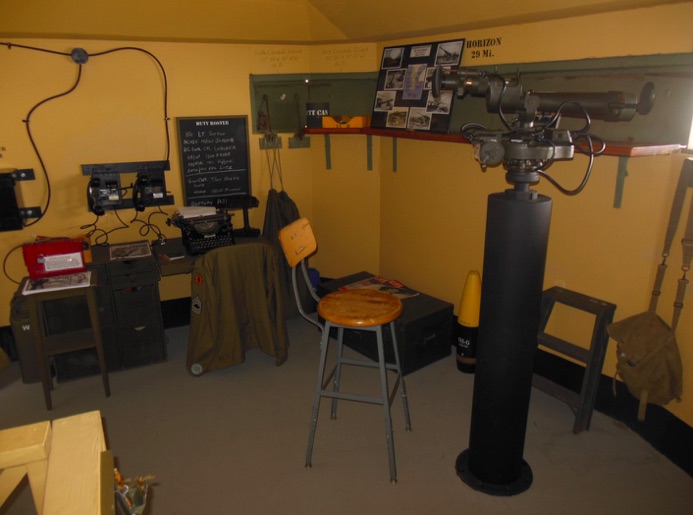
Turning slightly to the right from the previous photo, this shows the desk used by the battery commander’s assistant and the M1910A1 azimuth scope.

This is the park’s M1910A1 azimuth scope mounted on its pedestal. This pedestal was recovered from another bunker in the park and restored to its original position. The scope is rated at 15 power, which is twice the magnifying power of a normal pair of binoculars.

Turning slightly to the right again, this is the northwest wall. The azimuth scope and the telephones were the most important instruments installed in the bunker. The ship identification chart is one of two identification poster reproductions done by a volunteer.

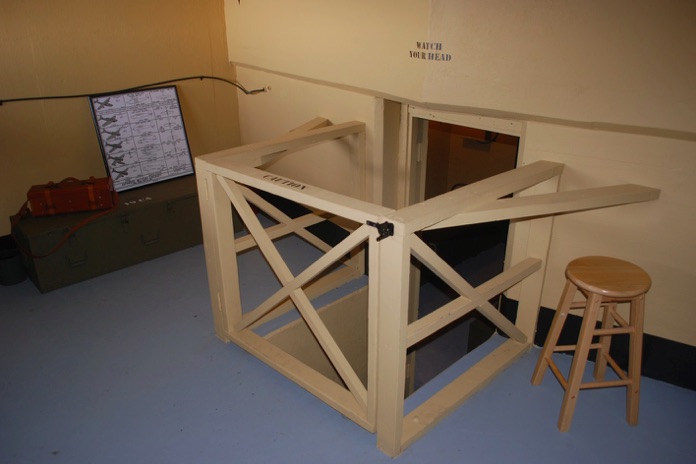
The view down the ladder to the bunkroom. A hatch can be placed over this opening to close it off. The gate and the railing are both reproduced, but the design is based on the original drawings of the bunker and surviving original railings found in the lower level of this bunker. The railings are installed using the original holes in the concrete where the original woodwork was placed.

Still looking northeast, but now at the base of the ladder, this is the bunkroom. The light seen here is the only electric light installed in the bunker. The beds are of World War Two vintage, obtained as surplus from a Boy Scout camp. The black paint on the wall and along the floor was to hide the scuffmarks of the soldier’s boots when they walked around and used the ladder.

This photo is looking towards the southeast, showing the rest of the bunk beds. Poles on the floor are used to support camouflage netting when it is installed over the bunker entrance.

Looking northwest from inside the bunkroom shows the doorway leading to the lower bunker. This door was closed at night to prevent any light from the bunkroom from being visible from the view ports of the lower bunker.
Looking northeast at the top of the stairs seen in the previous picture. The side railings are original, but the gate was reproduced. The original hinges and gate latch were intact when the restoration was started, which confirmed that this gate was part of the original design of the bunker.
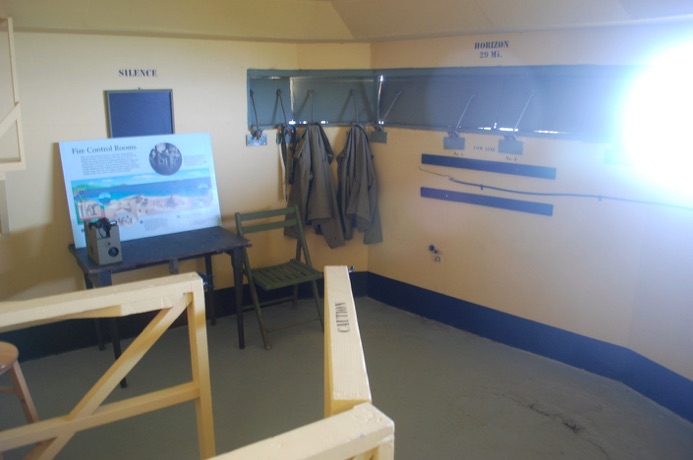
Looking southwest shows the space where two of the three optical instruments were installed on this level. Originally, there were three instruments installed on this level; two azimuth scopes and a depression finder. The lower bunker was the actual base end station, where targets were tracked and the data needed for triangulation was generated.

Looking northwest in this room shows the only view port shutters that can be opened, the rest are rusted, or welded, closed. The M1918 azimuth scope shown here is located very near where an original azimuth pedestal was once installed. Restoration is ongoing for the lower bunker, and is less complete than the upper level.

This is the base for the Depression Position Finder (DPF) telescope. Reproduced by the NPS in 2014, this is an exact replica of the base as it appeared just before the DPF hardware was installed. The DPF was the largest telescope installed in this bunker, so it was the primary instrument used to search for enemy ships. The chair ran on rails to allow it to move with the DPF scope, so soldiers had a comfortable place to sit while maintaining their watch on the ocean.

An example of why the Army supplied posters that showed ship silhouettes instead of details. This was a Navy amphibious assault ship in maneuvers 6 miles off of Point Loma in fog, as seen through the M1910A1 azimuth scope. The scale was used to determine the distance between the target and the splash of the shell when it missed.
Last revised 02-Jun-20
